Assignment: Spring 2018: Sixteen Masonite Panels: Instructions:
1. Four 6"x6" Masonite Panels: Use just encaustic paint, brush and tape: learn to fuse, scrape and compose.
2. Four 6"x6" Masonite Panels: Use the Dexter Splatter and Incising Process together
3. Four 6"x6" Masonite Panels: Black and White Image + Tissue Paper Printouts / Mono-printing
4. Four 6"x6" Masonite Panels: Color Transfer using Laser Prints and Magazines
Collage Transfer (water base):
Acrylic Gel Medium
Find a digital image or your own color image and have it laser printed at the BAS (business building or library).
You may also use thick color magazine images.
Coat the laser or magazine image with seven thin coats of Acrylic Gel Medium. Let it dry between coats.
Put your image facedown. (vary your sizes)
Rub it down with your wooden or metal burnisher.
Next, lightly sand the image.
Take some water and saturated the image.
Now rub with your fingers or a sponge.
Try to get as much as possible off.
Now you have a translucent image that can be glued down using acrylic gel medium on almost any surface.
****You can also take acrylic gel medium and glue the image right onto your panel.
Then follow the same steps as above: sand, water, sponge
Xylene Transfer (water base):
Find a Clip Art on-line, high contrast image or your own drawing and print it out. Make a xerox copy of it (black and white).
Put your image facedown. (vary your sizes)
Take your Xylene Pen (marker blender *buy the one that stinks) and go across your image.
Let it dry a little bit.
Rub it down with your wooden or metal burnisher.
Encaustic Wax Transfer (oil base) Remember to put more wax on so the images will stick:
Black and White Xerox Transfer:
Find a Clip Art on-line, high contrast image or your own drawing and print it out. Make a xerox copy of it (black and white).
Put your image facedown. (vary your sizes)
Rub it down with your wooden or metal burnisher.
Next, lightly sand the image.
Take some water and saturated the image.
Now rub with your fingers or a sponge.
Try to get as much as possible off.
Lastly, heat it lightly so it fuses into the wax.
Color Transfer:
Find a digital image or your own color image and have it laser printed at the BAS (business building or library).
You may also use thick color magazine images.
Put your image facedown.
Rub it down with your wooden clay tool, metal or wood spoon or a printmaking burnisher.
Next, lightly sand the image.
Take some water and saturated the image.
Now rub with your fingers or a sponge.
Try to get as much as possible off.
Lastly, heat it lightly so it fuses into the wax.
**You can also take acrylic gel medium and glue the image right onto your panel then apply a coat of wax medium.
***Another option is print your image directly on the printmaking paper and then coat it with wax medium.
Charcoal, Vine, Graphite Transfer:
Draw or copy of image onto a piece of parchment or copy paper (really any paper will do) using charcoal, vine, or graphite.
Put your image facedown.
Rub it down with your wooden clay tool, metal or wood spoon or a printmaking burnisher.
Tissue Paper Printouts on a Regular Ink Jet Printer:
Find a digital or your own color or black and white image.
Cut a piece of tissue paper to fit the 81/2 x 11 copy paper
Tape the tissue paper onto the copy paper. (tape around the edges really well or else it will be eaten up by the printer)
Make sure you install the paper correctly so it prints on the right side.
Push print, now you have an image on tissue paper.
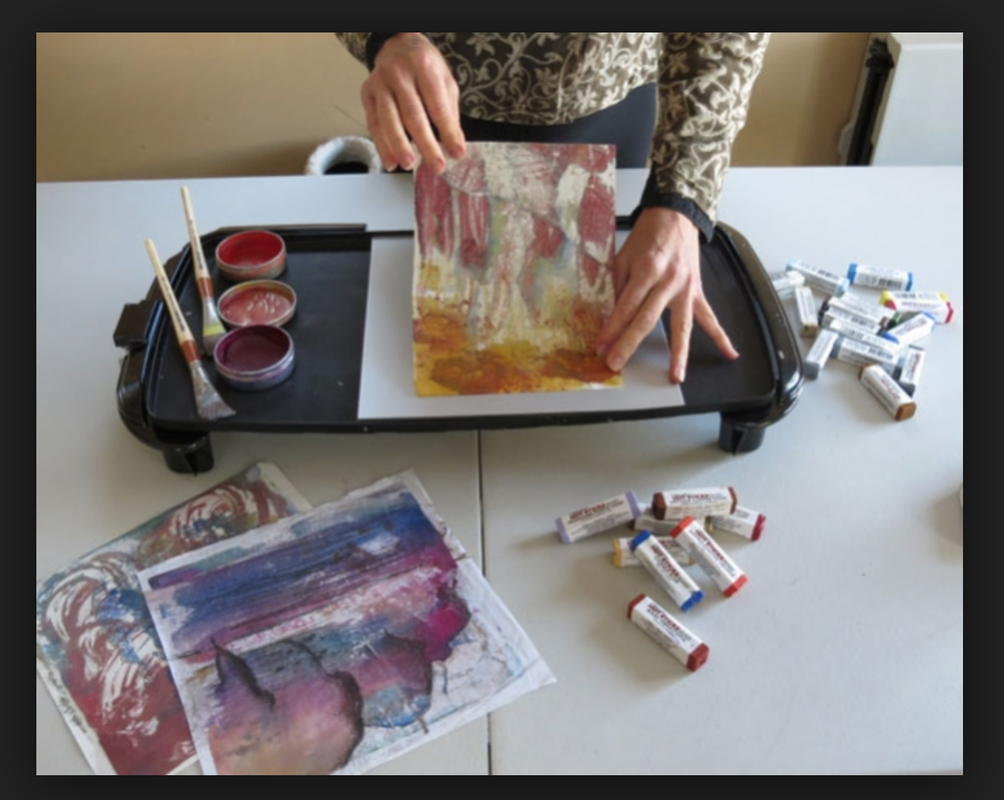
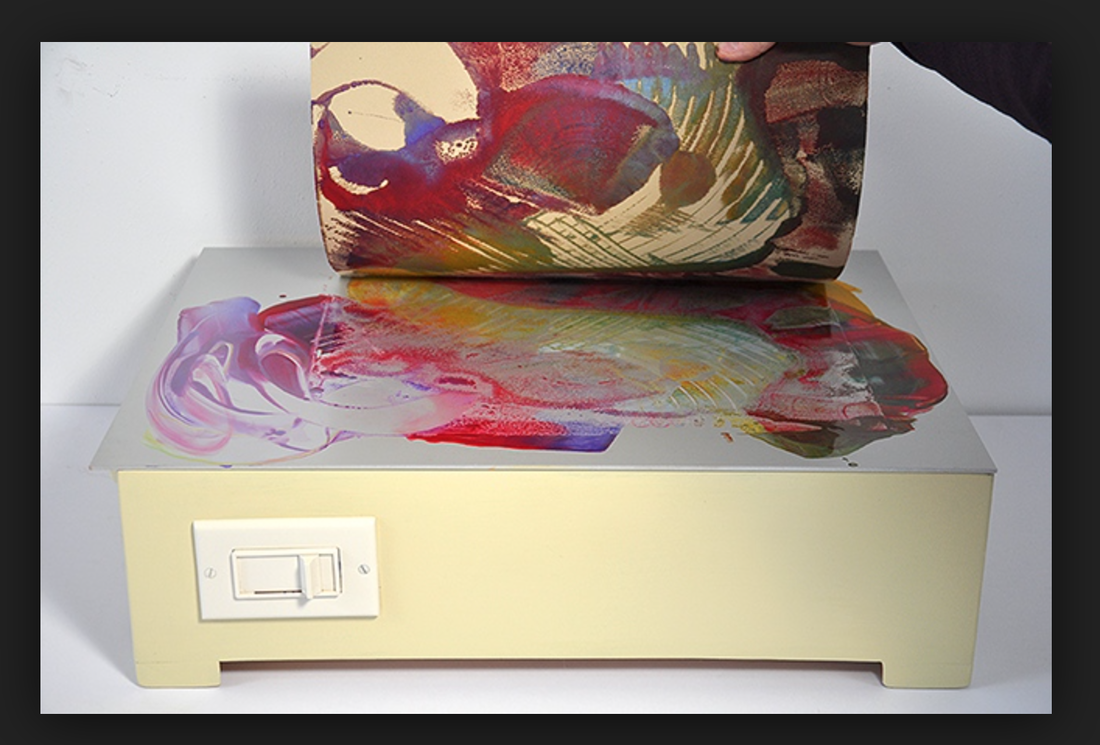
Make your own color or texture on the griddle and then lay down a piece of tissue, simple mono-printing technique
Randy Purcell's Encaustic Technique: http://www.randylpurcell.com
Find an image you want to create.
Print it out in black and white, pay attention to your values.
Randy uses birch cradle boards because it is light and easy to ship.
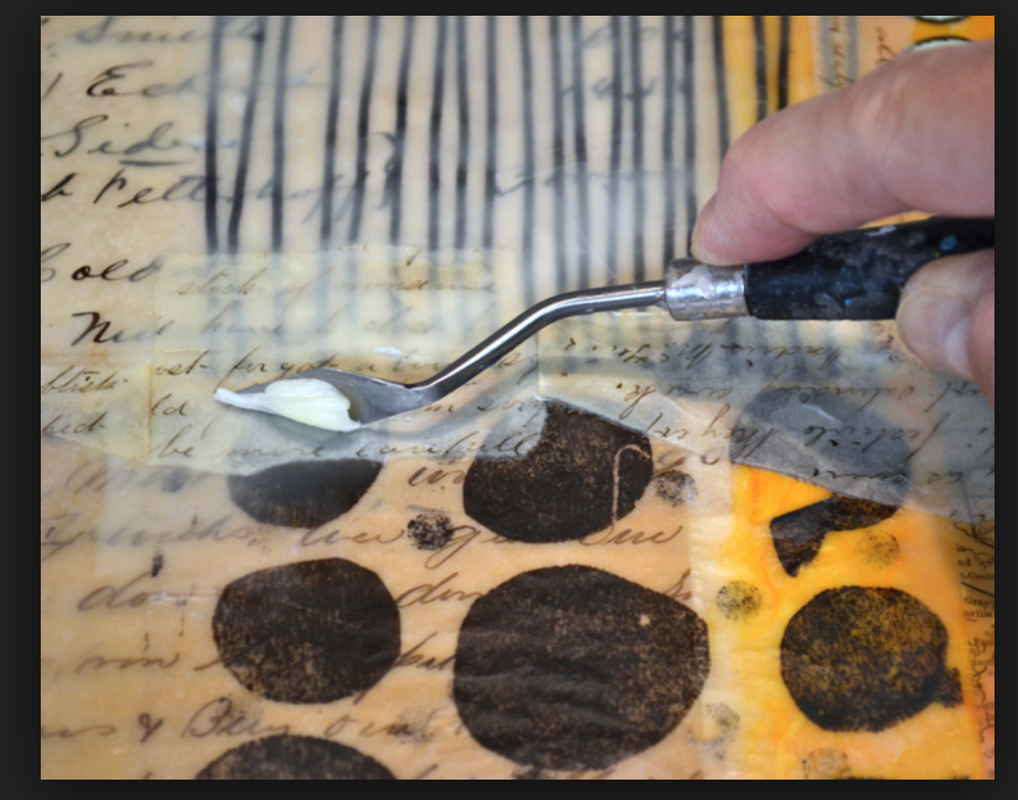
Heat up pure bees wax with a crock pot or in a muffin tin, now apply to the cradle boards (we are using paper), smooth down with a scraper clay tool.
Now put your image onto the wax board (paper) with image straight up.
Using an Exacto Knife to cut the image into large shapes.
Peel each large shapes off of the wax board and trace onto a magazine image.
Take that magazine cut out and put it where you peeled the black and white image from the board.
Replace all the black and white image with magazine cutouts.
Burnish the image down with a wooden tool or metal spoon.
Spritz the whole finished image with water and make sure to saturate the image completely, this helps the ink stick to the board.
Now rub the whole image with your fingers. If there is still paper on the board (paper), keep rubbing it off.
Now you may take a sharp tool and scrape some of the ink off if you need some areas lighter, or even incise lines.
Once your are happy with the image, spray with with a multi-media archival varnish.
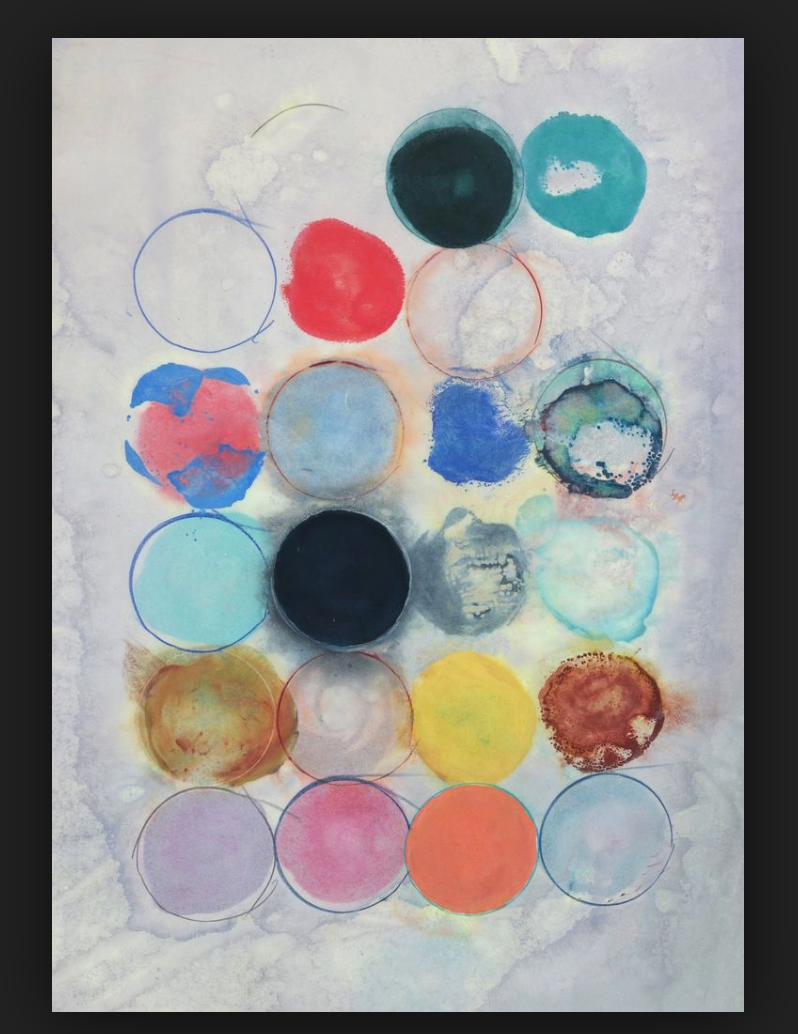
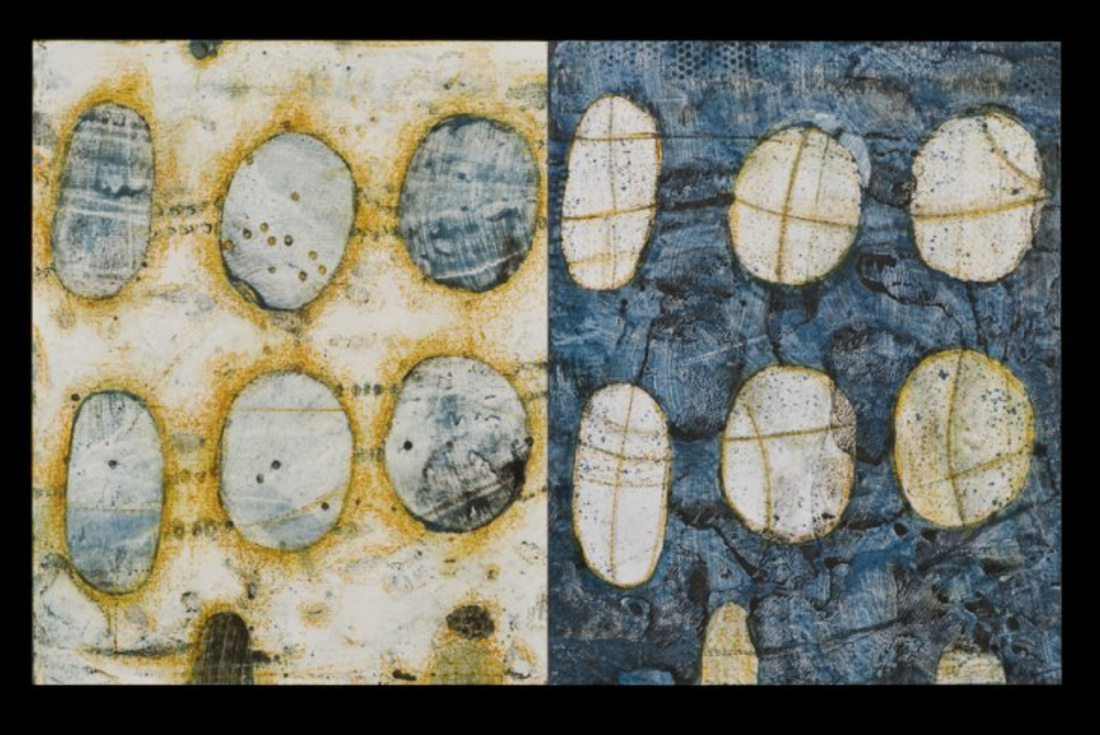
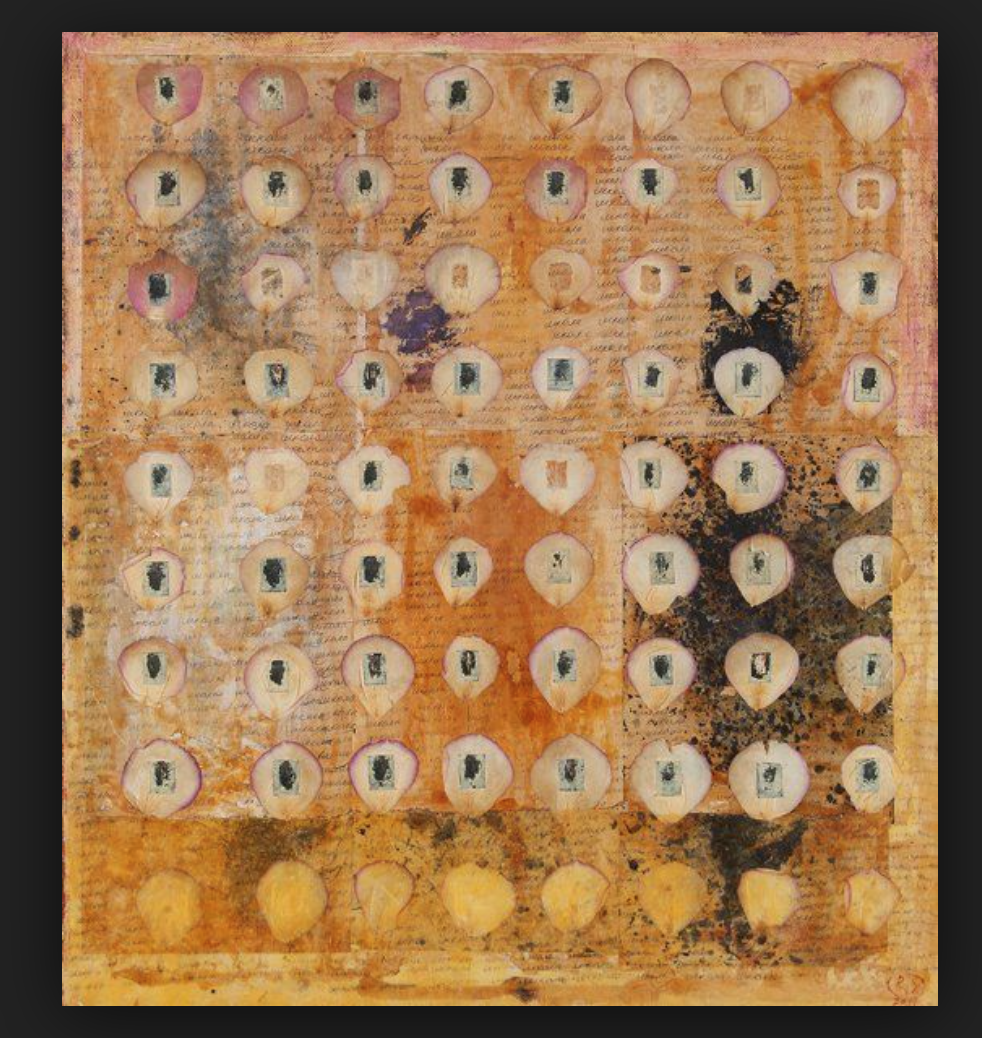
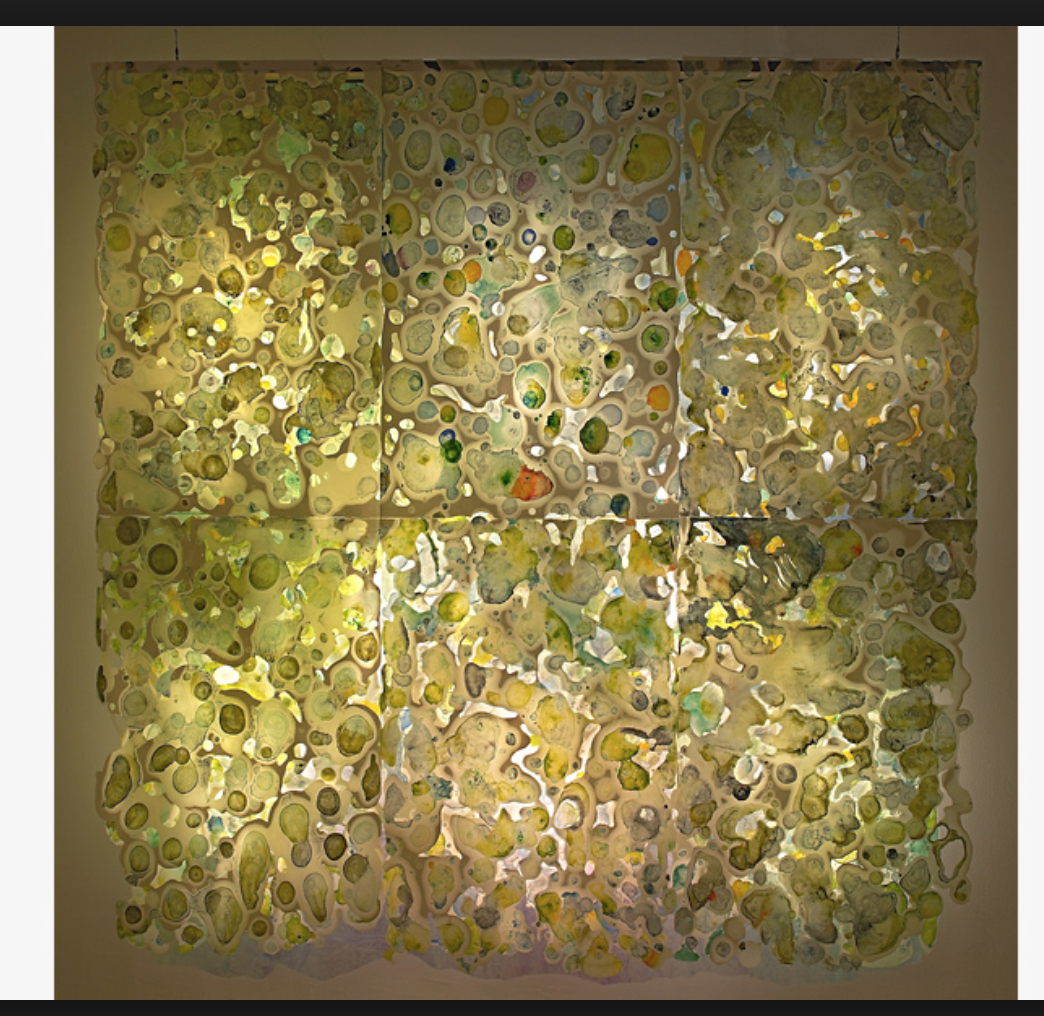
•••Remember to have fun and relax..oh and think about formal 2D elements such as:
Color, Size, Proximity, Line, Shape, Direction, Value, Balance
*** Also Do your own research for encaustic on paper and you will find tons of examples on-line.
Keywords: encaustic on paper, encaustic mono-type, collage encaustic
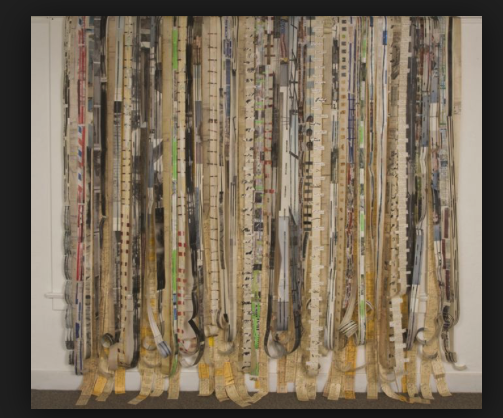
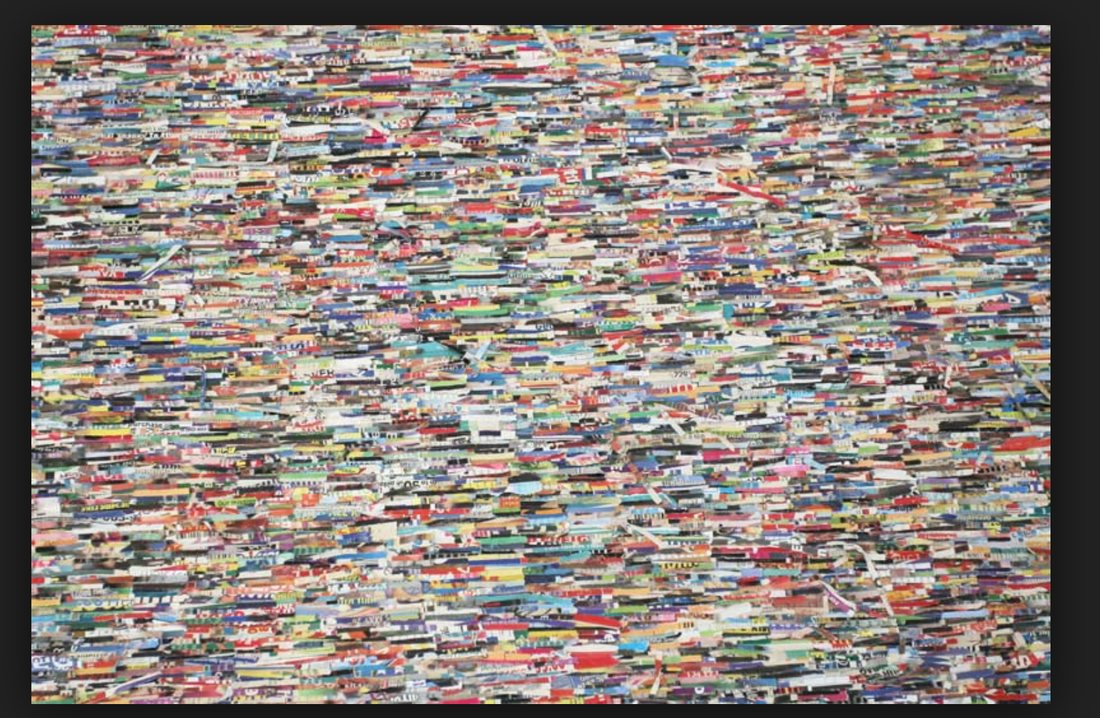
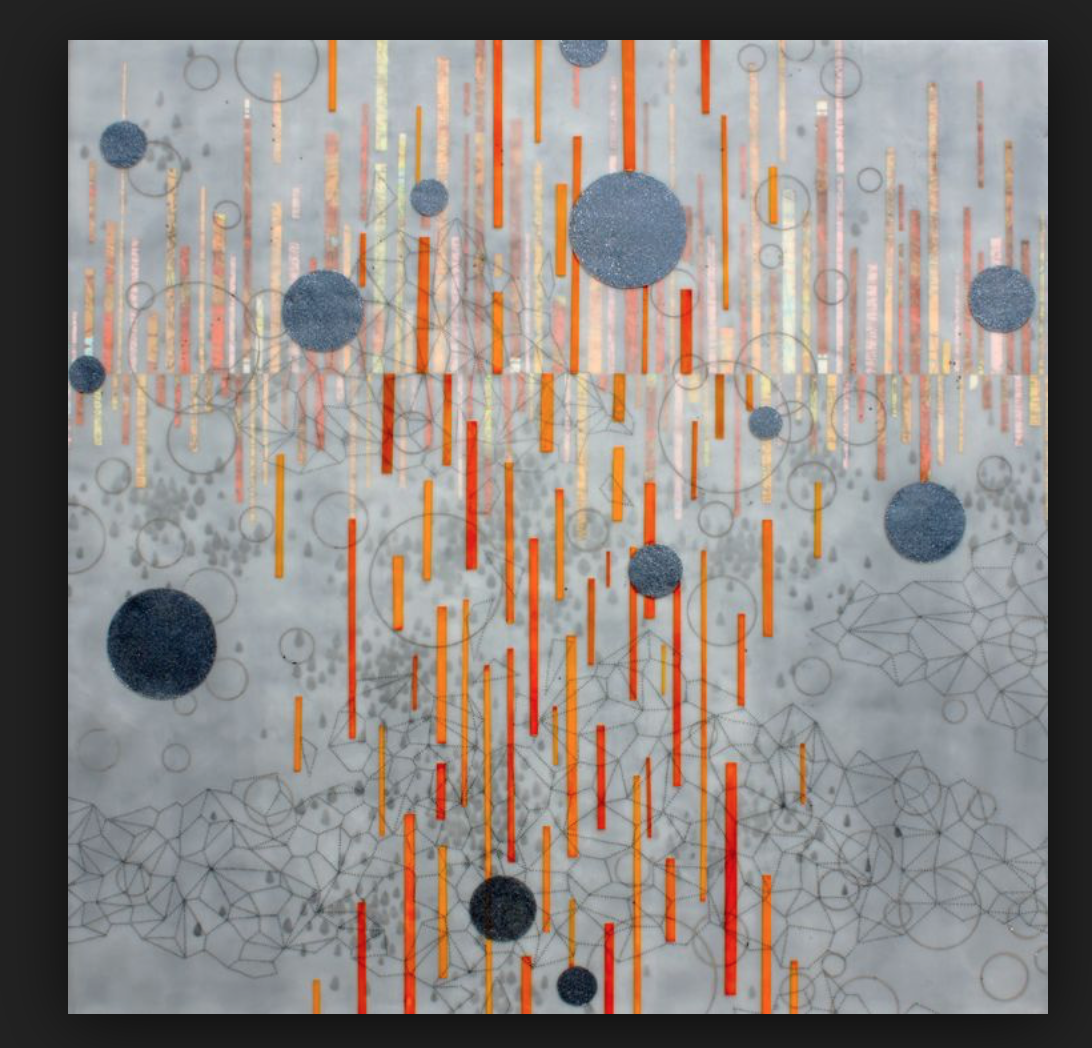
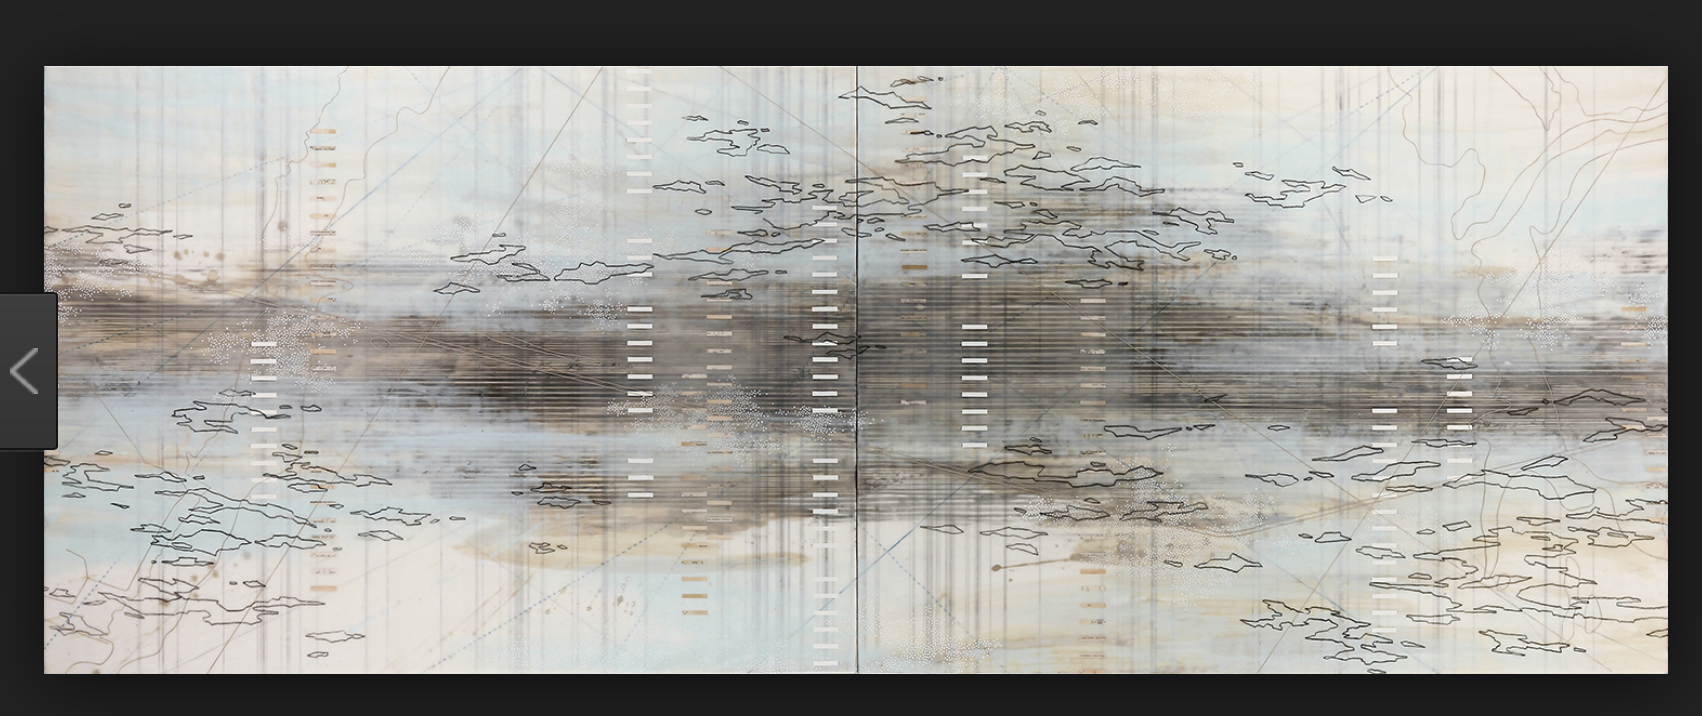
Examples for the Collaborative Installation Assignment: